Navigation

Showing posts with label stringer fleet. Show all posts

Monday, February 20, 2017

Spring Tune-up Came Early


The 1980 Peugeot Course received a much-needed facelift and tune-up over the weekend. The bike was covered in gray/black grime from being ridden in wet conditions. This was particularly bad - as it usually is - on the chain stays. There was also a thick coat of brake pad compound around the fork crown and the seat stays. While these may have been the worst spots, the whole frame was in an overall state of nasty and was badly in need of a thorough cleaning and polishing.


In regards to functionality, my shifting and braking had become mushy from the old neglected cables and housing. The bar tape that I put on the bike specifically for RAGBRAI 2015 was, at this point, pretty much disintegrating. And I recently decided to get rid of my Cardiff leather saddle after it had developed a pronounced ridge down its center line that was causing uncomfortable perineal pressure, so I swapped it out with the frighteningly ugly and rock-hard synthetic saddle that had come with Ginger's Motobecane Super Mirage. That too needed to be remedied.

I picked up an old, beat up Brooks B17 at a good price on eBay and snagged some RikeRibbon bar tape in a gaudy carbon gold color. What can I say? It beckoned to me. While at my LBS, I picked up cables and accessories. I also brought my intern/son along, and we had need to fortify ourselves after procuring our bounty. So that's what we did.


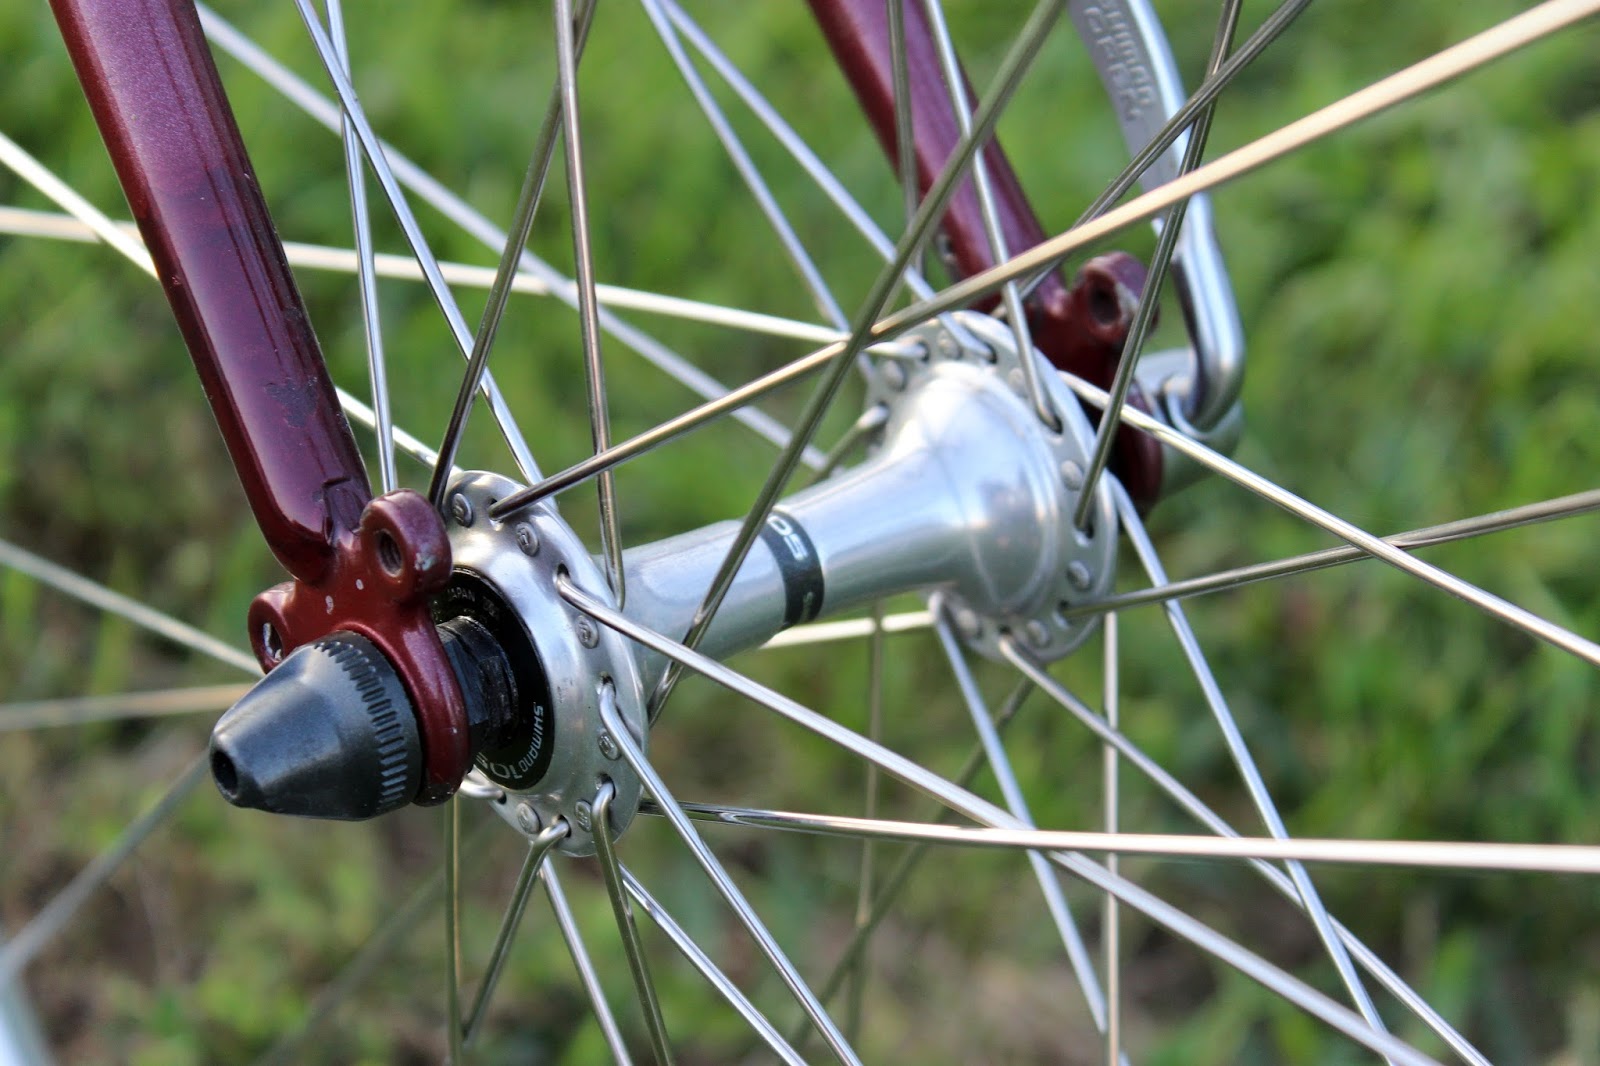
Once I had everything I needed, I got to work disassembling and cleaning the bike. I left the headset and cockpit where they were, as I find that the headset only needs to be overhauled rarely. And once you've got the cockpit set up just the way you want it, it's a huge pain in the ass to ruin everything by unnecessarily taking it all apart.


All the components were degreased as needed and cleaned up with a bit of soap and water. Once the frame was dry, I used a cleaning/polishing wax to give it a bit of luster and some protection from the elements and the general abuse of daily commuting. After I applied the wax, I had to wait for it to dry before buffing it off, and I enjoyed the down time with loud music, a delicious beverage, and thoughts of political resistance.


Reassembling the bike was mostly quick and painless. The components went back on the bike with ease and running cables and housing and getting everything dialed in on this machine is something I can practically do in my sleep. The old Brooks took a bit more work, as I noticed that the leather was very soft and pliable and sagging slightly, which caused the sides to splay. I thoroughly conditioned the old saddle to make sure the leather wasn't brittle, then drilled a couple holes along the bottom of each side and laced them together with a boot lace. The result is nearly perfect: a soft supple saddle that gives slightly under my weight without sagging.


The old Peugeot is definitely showing its age, but then again it hasn't exactly been coddled in the 5 years that I've had it. I ride it nearly every day and it continues to be a dependable, low maintenance machine for daily commuting, bar hopping, and around-town jaunts. Exactly what you'd want in a bicycle.

Monday, September 26, 2016

Built For The Long Haul: 1986 Panasonic Touring Deluxe


For nearly 5 months now, I've been working on building up a 1986 Panasonic Touring Deluxe frame. I could've pretty easily done it in half that time, if not less. But I had no budget for this project, so much of the delay in getting the bike built was due to continuously searching for steep discounts on components and parts. This project was also a bit of an oddity. It's a vintage bike and I wanted to stay true to its origins. But it's also a machine I wanted to reliably put thousands of miles on. For this reason, I struck a balance between new and old - seeking out used, vintage-era components when I felt that newer parts weren't needed, and bolting on brand new parts when I needed the advantage of a modern component.

So this was not a restoration project. Think of it more as a resto-mod. Whatever it is, this is my personal tourer and I can't wait to start cranking out some mileage on it.

The Frame: In a previous post, I discussed details of the frame, so I won't rehash those. Before I started buying parts for this build, though, I wanted the frame to be in top condition. I picked up some automotive touch-up paint from my local auto supply store and hit the more worrisome spots on the chainstays and fork with a couple coats. Once it had been touched up, I hosed down the inner surfaces of the tubing with Frame Saver. Then I used a polishing wax to clean it up and make the paint shine, followed by a coat of hard shell wax to protect the paint and minimize further oxidation in the areas where the paint was chipped or scratched.

The Drivetrain: The front and rear derailleurs are period-correct Shimano Light Action derailleurs (FD-Z204 and RD-L523, respectively). They're controlled by a set of clamp-mount Shimano L412 Light Action downtube shifters. A Shimano TZ20 6-speed freewheel, Hyperglide chain, and UN26 bottom bracket round out the Shimano-heavy drivetrain. The whole thing is pushed by a Takagi crankset. I don't know much about this crankset, as it came with the frame when I bought it. What I do know is that it's not original to the bike. However, it's in very good condition and a perfectly serviceable crank. I may someday replace it with something closer to original, but as for now it will do nicely.

The Brakes: As I discussed in a previous post, I had some issues finding suitable brakes for this build. Stopping power is provided by a beautiful set of Shimano 600 EX BL-6208 brake levers that I picked up on eBay and Shimano Altus CT91 cantilever brakes. While the CT91s don't quite have the vintage look of brakes like the Tektro CR720s or the Paul Neo-Retros, they're decent brakes that can be purchased for shockingly low prices, so I'm sufficiently satisfied with the end result.

The Wheels: This was one of my favorite parts of this project: building wheels. These particular wheels are a creation of my own design. I picked up a pair of vintage Shimano 105 HB-1050 front and rear 36-hole hubs that match the OLD on the old Panasonic frame for a great price from my LBS. I laced them to a set of brand-new Velocity Dyad 700c touring rims using DT Swiss Champion 2.0mm straight-gauge spokes. After all, it's a heavy duty bike that deserves heavy duty wheels. These fully custom, hand-built wheels are the ultimate in old-meets-new for the purpose of maintaining a vintage look - as well as compatibility - while maintaining maximum performance. Not so different from the rest of the machine!

The Accessories: In typical touring style, the saddle is a honey color Brooks B17 saddle, with matching honey color Brooks Microfiber bar tape. The tires are Schwalbe Marathons in a 700x32c size, and I'm currently using Shimano A530 pedals. I topped the whole thing off with a Racktime Add-It rear rack and a set of Jenson stainless bottle cages that give the bike a nice vintage - and slightly wonky - flair.


Sunday, April 28, 2013

Cody a film star? Yes!

To say we were delighted when Springfield's Healthy Living Alliance approached us to help them film an informational video about the rules of city cycling would be a massive understatement.


HLA teamed up with local improv comic Jeff Houghton, Brandon of Goodwin Films and us to film the first in their four-part series about healthy living in Springfield. The topic? Basic rules of the road tips for cyclists. Bike to Work Week is just two weeks away so the timing is perfect.

We contributed the Cody and the bike. The idea was to mount a few GoPro cameras onto the tandem, have Cody take the pilot's seat with Jeff on the back. The camera mounting proved to be the most challenging part of the whole endeavor.

Brandon Goodwin, the filmmaker and coworker Doug came over a couple times this week to figure out the logistics and take the rigged up rig out for a spin. For the record, there's a camera on each set of handlebars with sort of a tripod over on the side. Crazy. Cool.


Anyway, we showed up for the shoot this morning, got Cody and Jeff microphoned up...


And sent them on their way.


We are so excited to see the finished product. Everyone involved was so incredibly nice and talented and enthusiastic and easy to work with. We know the finished product will be very awesome.

We'll let you know when the final product is, um, finalized.

Thursday, April 11, 2013

Accessorizing the Super Mirage

Ginger has been interested in accessorizing her bike with a wine box or an antique box of some sort for quite a while now, but I just haven't been able to pull the trigger and get it done...until now. From the very start, she's talked about how good a wine box would look on the back of the Super Mirage. So it was definitely going to have to happen. A couple of weeks ago we found an old wooden prune crate at an antique store; it was light weight, fairly sturdy, and had a really cool look, so we picked it up. Ginger found a DIY guide via High Heels & Two Wheels, and we got to work.


The first step was to coat the box with a protective finish. I had some leftover shellac from the Columbia Twosome project that I brushed onto the box, inside and out, to act as a barrier from the elements. I picked up some 8" mending plates, bolts, nylon-insert nuts, washers, and 1/4" nylon spacers from my local hardware store. Then I did some quick measuring to be sure that the mending plates would be positioned such that they would be between the rear rack stays. Once everything was measured, marked off, and remeasured, I drilled the holes for the bolts in the bottom of the prune box.


After all of the prep, actually installing the antique box was a snap. I used washers between the bolt heads and the floor of the box to avoid any cracking as the bolts were tightened. And I used 1/4" nylon spacers between the bottom of the box and the mending plates to avoid putting too much stress on the old box (the steel bars that make up the Wald rear rack platform are 1/4" in diameter). Before tightening up the whole assembly, I made sure that the box was positioned and aligned properly.


The old prune crate looks pretty outstanding. Ginger loves it. I think it's a great way to add some cargo capacity to the bike without sacrificing the elegance of the machine. And the cat likes it, too.

Thursday, March 21, 2013

The Finished 1982 Motobecane Super Mirage


As you may have already noticed, I finished Ginger's '82 Motobecane Super Mirage early this week.  I apologize for not updating more frequently on the progress of the bike, but the basement is a bit dark and cluttered for taking decent pictures.  So I decided to just let the finished bike emerge from its dark, below-ground cocoon.


I can't say that this project was as seamless and straightforward as some of my previous machines.  The disassembly, cleaning, and rust removal went more-or-less as expected.  But there were a few snags in the process of reassembling the bicycle.  The first notable snag was how to run brake lines.  See, step-through frame bikes have rear brake calipers that are sort of upside-down - the cable comes into the calipers from below the brakes, along the seat stays.  But I replaced the old brakes on this bike with a set of brand new long-reach calipers.  The new calipers are designed with the housing stop at the top, as is traditional for non-step-through frame bikes, so I had to do some creative cable running.  As you can see in the picture above, I ran the rear brake line through the existing guides on the top tube, then between the two laterals, where it made an 's' shape into the rear brake caliper.  It's maybe not ideal, but it will have to do; and I'm pretty happy with the action on the rear brake.  I've also considered cleaning up the old brake calipers and putting them back on the bike, but I'm still undecided.  My main reason for not switching back to the old brakes is that I like the increased stopping power of the new calipers.


The second, and potentially ongoing, issue that I had to deal with was fender clearance.  I accessorized the bike with a set of hammered alloy fenders from VeloOrange.  I should preface by saying that these fenders are gorgeous.  They also come with ample hardware to mount the fenders in a number of different ways. The front fender went on the bike without a problem.  But the rear fender comes painfully close to the tire as it passes under the rear brake.  So close, in fact, that the little rubber nipples on the new tire hit the fender, making a sort of swishing sound as the rear wheel turns.  It's actually not the rear brake that is the cause of the clearance issue.  The source of the problem is the brake mount that runs between the seat stays, which is far too low and close to the rear wheel.  Eventually, though, a little elbow grease and patience was all that was required to alleviate the problem, and hopefully alleviate it permanently.


Some of the other notable additions or modifications that I made to this bike include the beautiful vintage  Suntour downtube shifters that the folks at Queen City Cycles assembled for me, and the Wald 215 rear rack.  In fact, I liked the Wald rack so much I bought two of them and put one on my bike.  It's also worth noting that one of the old Weinmann brake levers was totally shot, so I trashed them and picked up a set of nearly identical levers from The Hub.  The new levers, however, have a pretty ingenious quick-release mechanism for releasing brake cable tension that is really cool.  The wheelset, rubber, tubes, fenders, and 6-speed freewheel I also bought from The Hub.  Along with the shifters, Queen City was my source for bar tape, brake hoods, cables, and a few other odds-and-ends parts that I needed during the course of the project.

Thursday, March 22, 2012

Stringer Fleet: 1995 GT Outpost


It may seem odd to have a 90s-era mountain bike among my small collection of vintage road bikes, but this machine is near and dear to my heart.  I received this GT Outpost as a gift on my twelfth birthday.  After proving to my old man that I could safely handle and maintain an inexpensive department store mountain bike, he took me down to our local bike shop where I picked out this sweet little workhorse.  I rode the shit out of it for years; around the streets of my hometown, up and down the dirt roads outside city limits, and on the trails in the national forest.


The bike ended up being somewhat neglected during my college years.  During graduate school, though, I started riding the trails to work and the Outpost started getting regular use again.  A couple years ago I realized that I had been pretty lax in properly maintaining the bicycle, and I decided that it either needed a major overhaul or I needed to start shopping for a new bike.  In the end, I put more money into it than the bike was worth getting it fixed back up.  Nonetheless, I've been pretty pleased with my decision to keep this machine around.


My first order of business was to replace the warped wheels whose hubs had never once been repacked with a set of Weinman rims laced onto Shimano hubs.  I covered the wheels with some 2" Bontrager knobbies.  Next, I replaced the cantilever brakes, as the plastic bushings on the original cantis were brittle and beginning to crack.  I was able to find some NOS Shimano Altus brakes to replace the old ones.  And the last major update was a new WTB Speed V Comp saddle.  Once I had the new parts I needed, the bike was cleaned up and tuned up, with a new bottom bracket cartridge and new pedals and clips.

After a few technical-ish mountain bike rides, the GT spent most of its time on the Katy Trail.  So I added a front and rear rack so that I could haul repair supplies and beer.  The last upgrade was a Bontrager computer that my dude KP gave to me as a birthday gift.  The old front fork has lost a lot of the original paint and is looking a little rough, so it will probably have to be replaced eventually.  But as for now, I'm pretty damn pleased with how this bike came back to life.  After all, I've been pedaling this rig for over 17 years now and it would be a shame to see it go the way of Old Yeller.

Monday, March 19, 2012

Winter Project: Commuting Machine


This will be the final post in which I refer to this bike as a "Winter Project."  Winter comes to an end this week and this bike has become my commuting and around-town-fun rig.  So it now has a place on the wall of the garage and is officially a member of the Stringer fleet.

One of the first additions I made after I finished the project was a hideous rear rack.  This was the rack that was on my previous commuting machine, and it's also the platform for our child carrier.  When I'm commuting to and from work, the child carrier stays in the garage and I strap a small set of Nashbar panniers onto the rack.  These panniers are actually a bit small for my needs, but the small size is necessary due to the odd position of the rack supports.  Rather than bolting to eyelets at the dropouts, the rack supports clamp onto the seatstays.  The resulting sharp forward angle of the supports, along with their short length, causes full size panniers to fall into the spokes of the rear wheel.  This is a pretty major problem, and it took destroying a set of panniers for me to realize just how detrimental it was.  But these panniers from Nashbar have a rounded bottom and are very short, so there is no risk of the back corner grabbing the spokes.  Lately I've also been considering putting the child carrier on a different bike and adding a new, less clunky rear rack to the Peugeot so that it won't look so ugly.

I also recently added a set of SKS fenders.  Because the Peugeot Course has oversized eyelets, I had to go buy my own hardware to get these things bolted on.  But other than that, getting the fenders on the bike was pretty straightforward.  I'm pleased with how they look - somewhat understated and not particularly flashy - and they seem to get the job done.  They're also pretty inexpensive; I picked these up at Klunk for about forty bones, plus five bucks or so for the extra hardware.


So far, I'm really liking the feel of this bike.  It's fairly lightweight and the frame is just the right size.  I'm having a bit of a problem with toe overlap and I keep slamming my toe clip into the front fender when making low-speed turns, but I'm trying to be more conscious of my foot position so that it won't continue to be a problem.  I guess I could also just remove the toe clips, but I've grown to like them quite a lot.

Friday, March 2, 2012

Stringer Fleet: 1979 Raleigh Record


Despite the elegance and style of Ginger's 1972 Raleigh Sports, it is a relatively heavy bicycle with a limited gear range.  For long trips, windy conditions, or when she just feels like riding a more lightweight bicycle, she also has a 1979 Raleigh Record road bike.  This bike is set up as a twelve-speed and has an alloy frame and aluminum wheels, crankset, handlebars, etc.


My father had this bike collecting dust in his garage.  So when I told him I was considering starting another project for Ginger, he offered it to me as a gift.  The bike was in exceptionally good mechanical and cosmetic condition, so it was a speedy and inexpensive rebuild.  The frame is slightly too small for Ginger, so I added a longer seatpost and an upward-angled stem, both of which seemed to make the bike a bit more comfortable for her.  I ran chrome-colored cable housing for both the brake and shift cables, which added a bit of flash.  I also opted for cyclocross tires over traditional road tires, allowing the bike to easily hit the Katy Trail.  Recent additions include a set of rear pannier-style wire baskets and a Nashbar Bedford Vintage Saddle.  Initially, I taped the bars in white, which looked fantastic but the tape dirtied and started looking kind of gross after only a few months.  When she couldn't stand the look of the not-so-white tape anymore, I re-taped the bars in black.


Overall, I've been pretty impressed with this bike.  With the exception of a couple of incidents that were totally my fault, this machine has taken Ginger to and from her destinations without fail.  It's not quite as head-turning as her Sports, but it's awfully chic nonetheless.  I'm not sure that I could ever pull off riding a lavender-colored bicycle, but when my wife is in the saddle, it's an exquisite sight.

Sunday, February 26, 2012

Winter Project: Ready to Ride


Booyah!  I finished restoring my 1980 Peugeot Course over the weekend.  By the way, I did some research on the bicycle's serial number and am now confident in the year of manufacture.


I received my new chain and bottom bracket on Thursday and pretty much immediately swapped out the ill-fitting bottom bracket and added and adjusted the chain.  I was much happier with the shorter axle length of the new bottom bracket.  With the drivetrain components in place, I ran cables and housing and adjusted the derailleurs.  The final touches included clamping on my brown leather Cardiff Cornwall saddle and wrapping the bars in matching brown bar tape.  Once it was finished, it looked pretty much exactly as I had envisioned it.


The bike rides very smoothly.  It's lightweight and comfortable.  And the frame is just the right size for me.  I'm getting some notable wobble in the front wheel, so I'll have to do some truing, but other than that, this machine is done.  I think I've just finished building my new daily commuter.

Monday, February 13, 2012

Stringer Fleet: 1972 Raleigh Sports


The current crown jewel of our garage has got to be Ginger's 1972 Raleigh Sports.  The Sports was a hugely popular and superbly well-made bicycle.  Many of these bikes survive today and so when Ginger expressed an interest in a roadster- or cruiser-style bicycle that would provide her with a more upright riding position than her road bike, I had no problem finding an old Sports for sale.  I picked up this particular bike in small town outside of Kansas City.  It hadn't been ridden in many years and had been living in a chicken coop; and was therefore understandably covered in bird shit.  I brought the bike home and started taking it apart and cleaning it up.  I snapped this picture when I was nearly finished with the breakdown - I decided to overhaul the headset as a kind of afterthought so the fork is still attached in this picture, and I also had some trouble getting one of the cotter pins out, so the crankset didn't come off until a few days later.


I cleaned and degreased everything that was to go back on the bike and then took a trip to my LBS for the parts that were not.  New parts that went on this bike included a Brooks Flyer saddle, leather grips, nickel-plated chain, rubber and tubes, and of course cables and housing.  Other minor additions included new cotter pins and a new shift housing stop.  Usually I try to do all the work for these rebuilds myself, but since I was reusing the old cotter cranks, I had to have the guys at Klunk press the cotter pins into place with a specialized cotter press.  In the end the bike came together beautifully and I was - and still am - very pleased with how it looked.


Since the above photo was taken, I've added a small basket to the handlebars on my wife's orders.  I was hesitant to do this, as I thought it might detract from the elegance of the bicycle.  But instead, it really added a nice touch.

Here are a few random thoughts on this bike.  The old Brooks mattress saddle that came on the bike when I bought it was probably perfectly comfortable, but nothing beats that beautiful honey-colored Flyer.  This particular machine was manufactured in Malaysia (or at least the frame was).  Initially this was a concern for me, as I thought I had maybe paid too much for an inferior bike.  But after some research, I've discovered that these bikes were built to last and are every bit as mechanically sound as the Nottingham-made machines.  I do, however, have one issue with this bike, and that is with the old Sturmey-Archer 3-speed rear hub.  The integrated freewheel is a bit of a nuisance and does not turn freely at all.  I've heard that this is an unavoidable and common problem with these old hubs, but it's a problem nonetheless.  Other than that, this bike is proving to be a real beauty and a true workhorse for Ginger's daily commute.